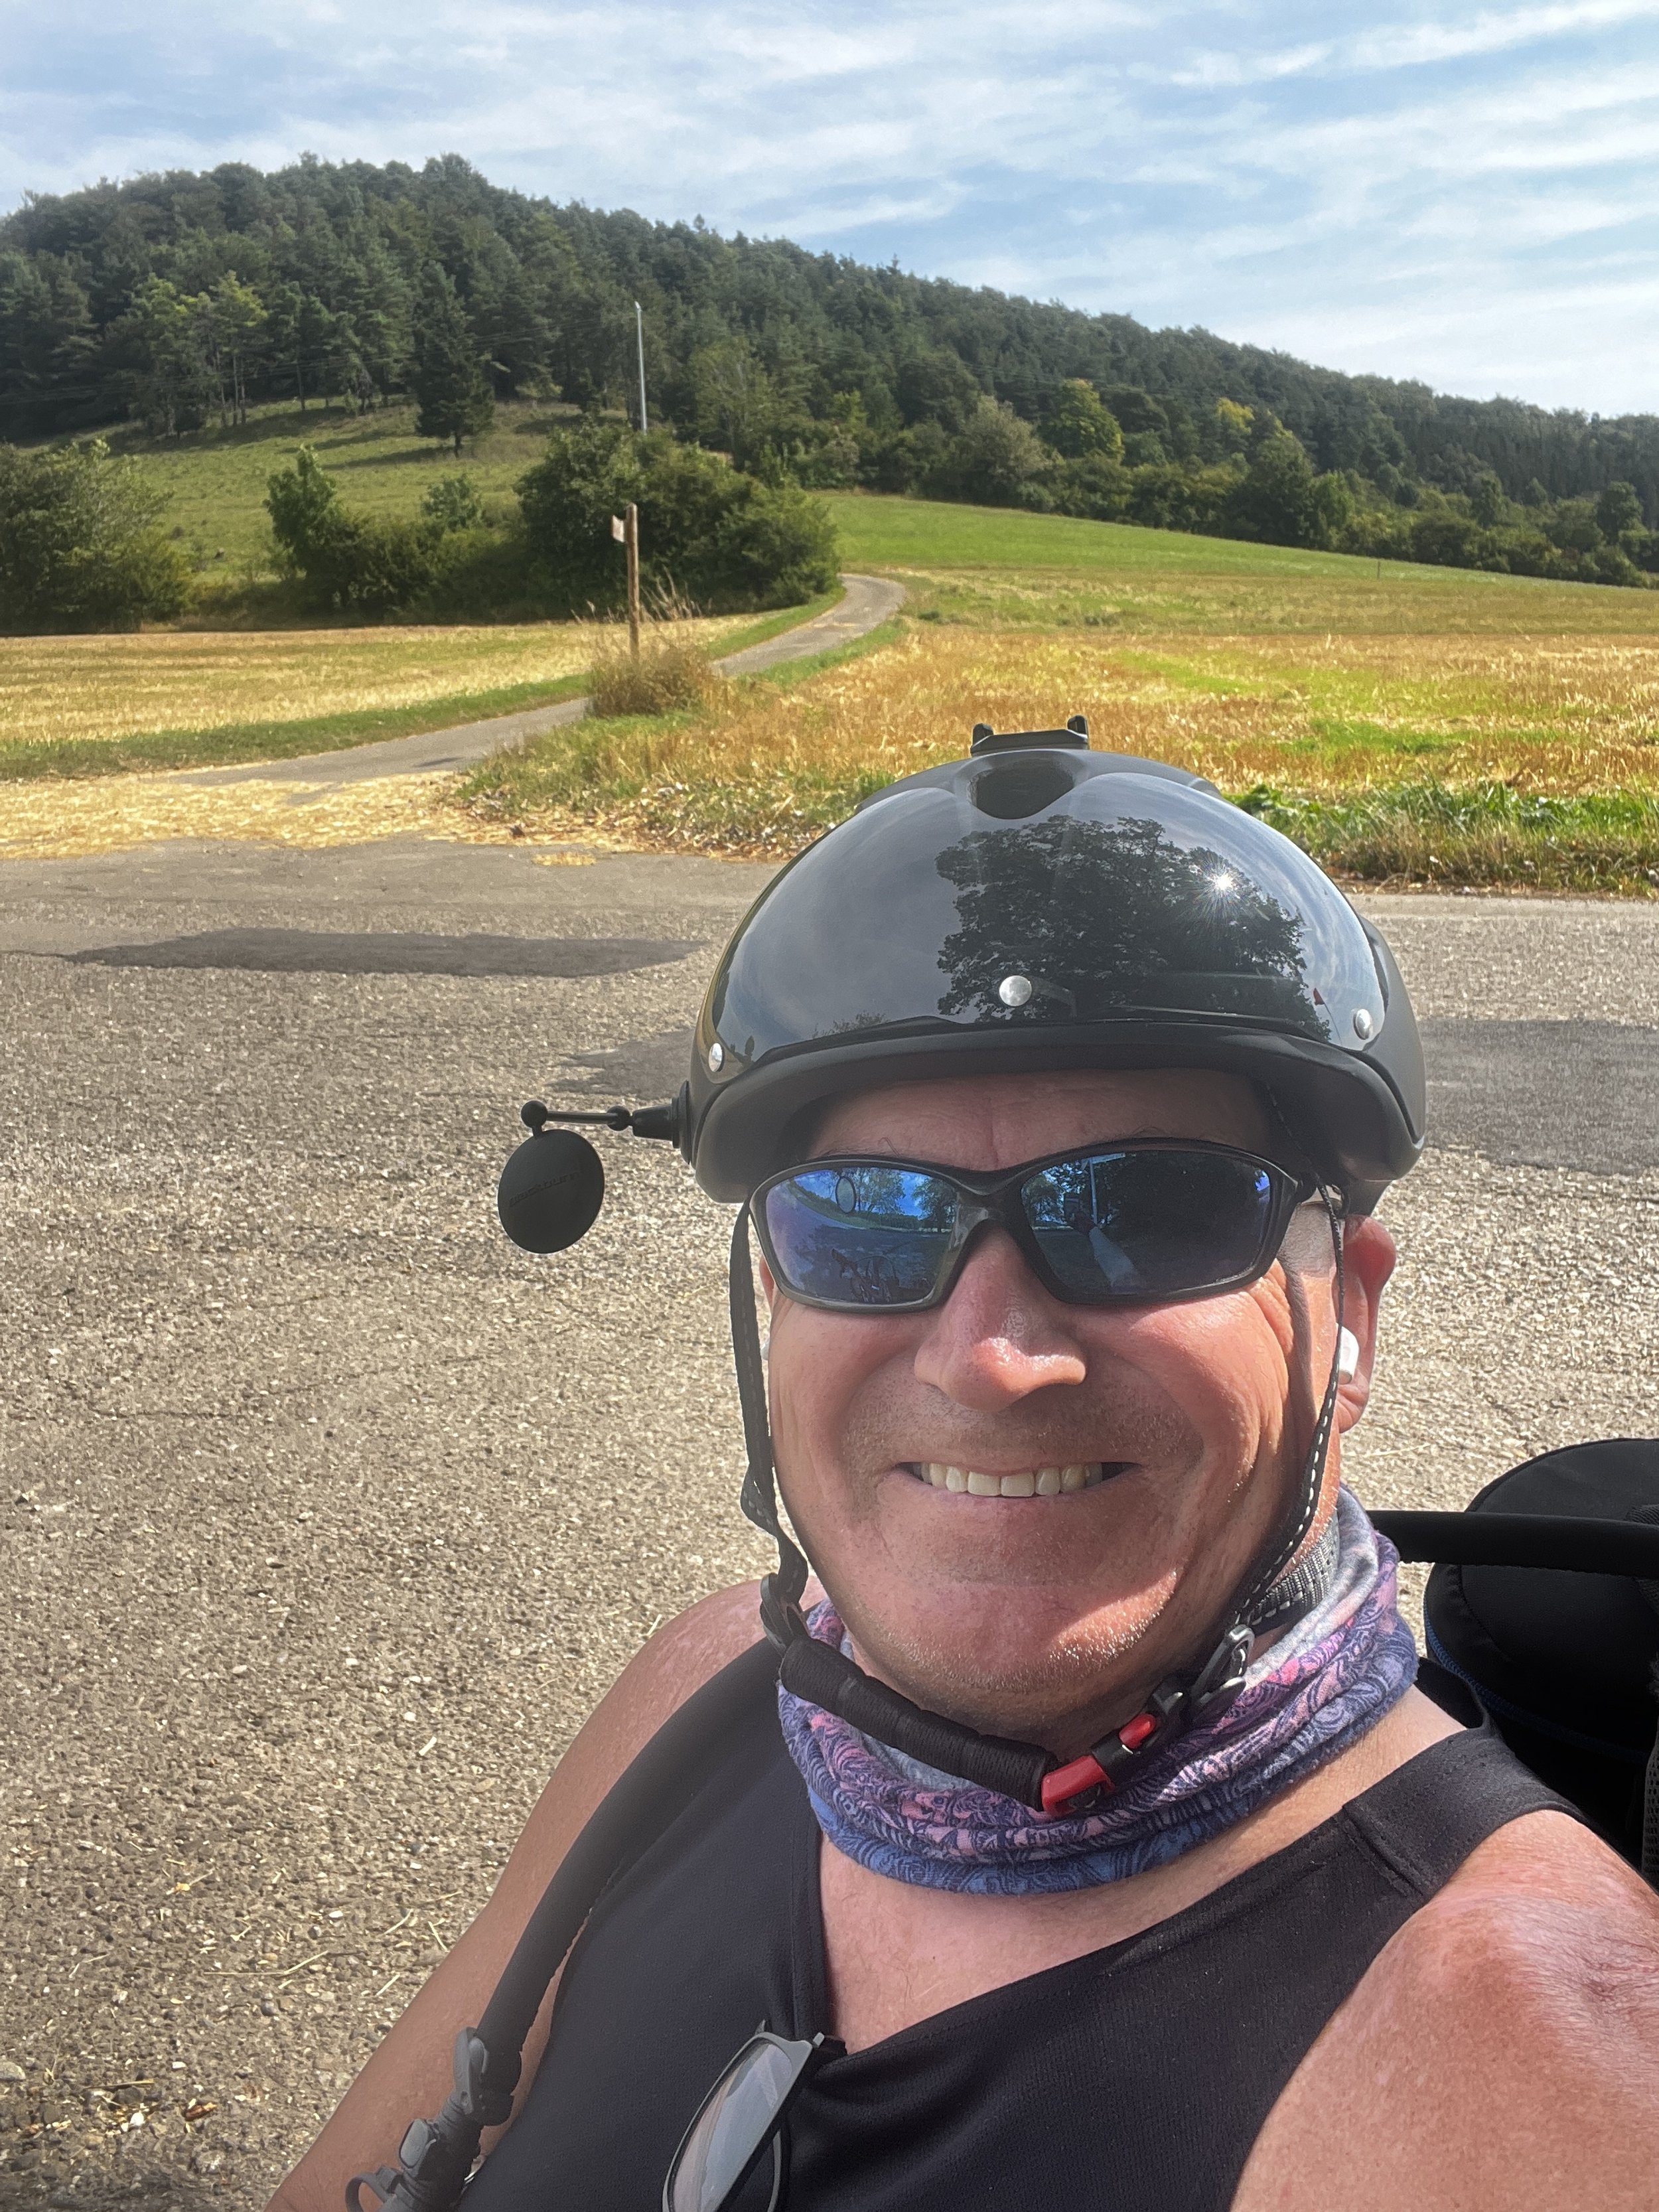
Handcycling from Genkingen to Albstadt: A Test Ride through the Scenic Schwabian Alb
So many wonderful bike paths
Handcycling from Genkingen to Albstadt: A 3-Day Test Ride through Germany’s Scenic Hills
Hey fellow adventurers!
If you’re looking for a cycling journey that combines stunning landscapes, challenging terrain, and a bit of self-discovery, then let me take you on a ride from Genkingen to Albstadt. I recently completed a 3-day handcycling test ride covering about 45 km each way, and I’m excited to share the experience, the lessons learned, and some tips for anyone considering a similar adventure.
Day 1: Rolling Out from Genkingen
My journey began in the quaint town of Genkingen, nestled in the scenic area of Sonnenbühl. With my handcycle, e-bike setup, and trailer loaded with camping gear and my wheelchair, I set out on what I expected to be an enlightening test run of my equipment. The goal? To reach Albstadt, a town surrounded by rolling hills and lush forests, and to test my setup in real-world conditions.
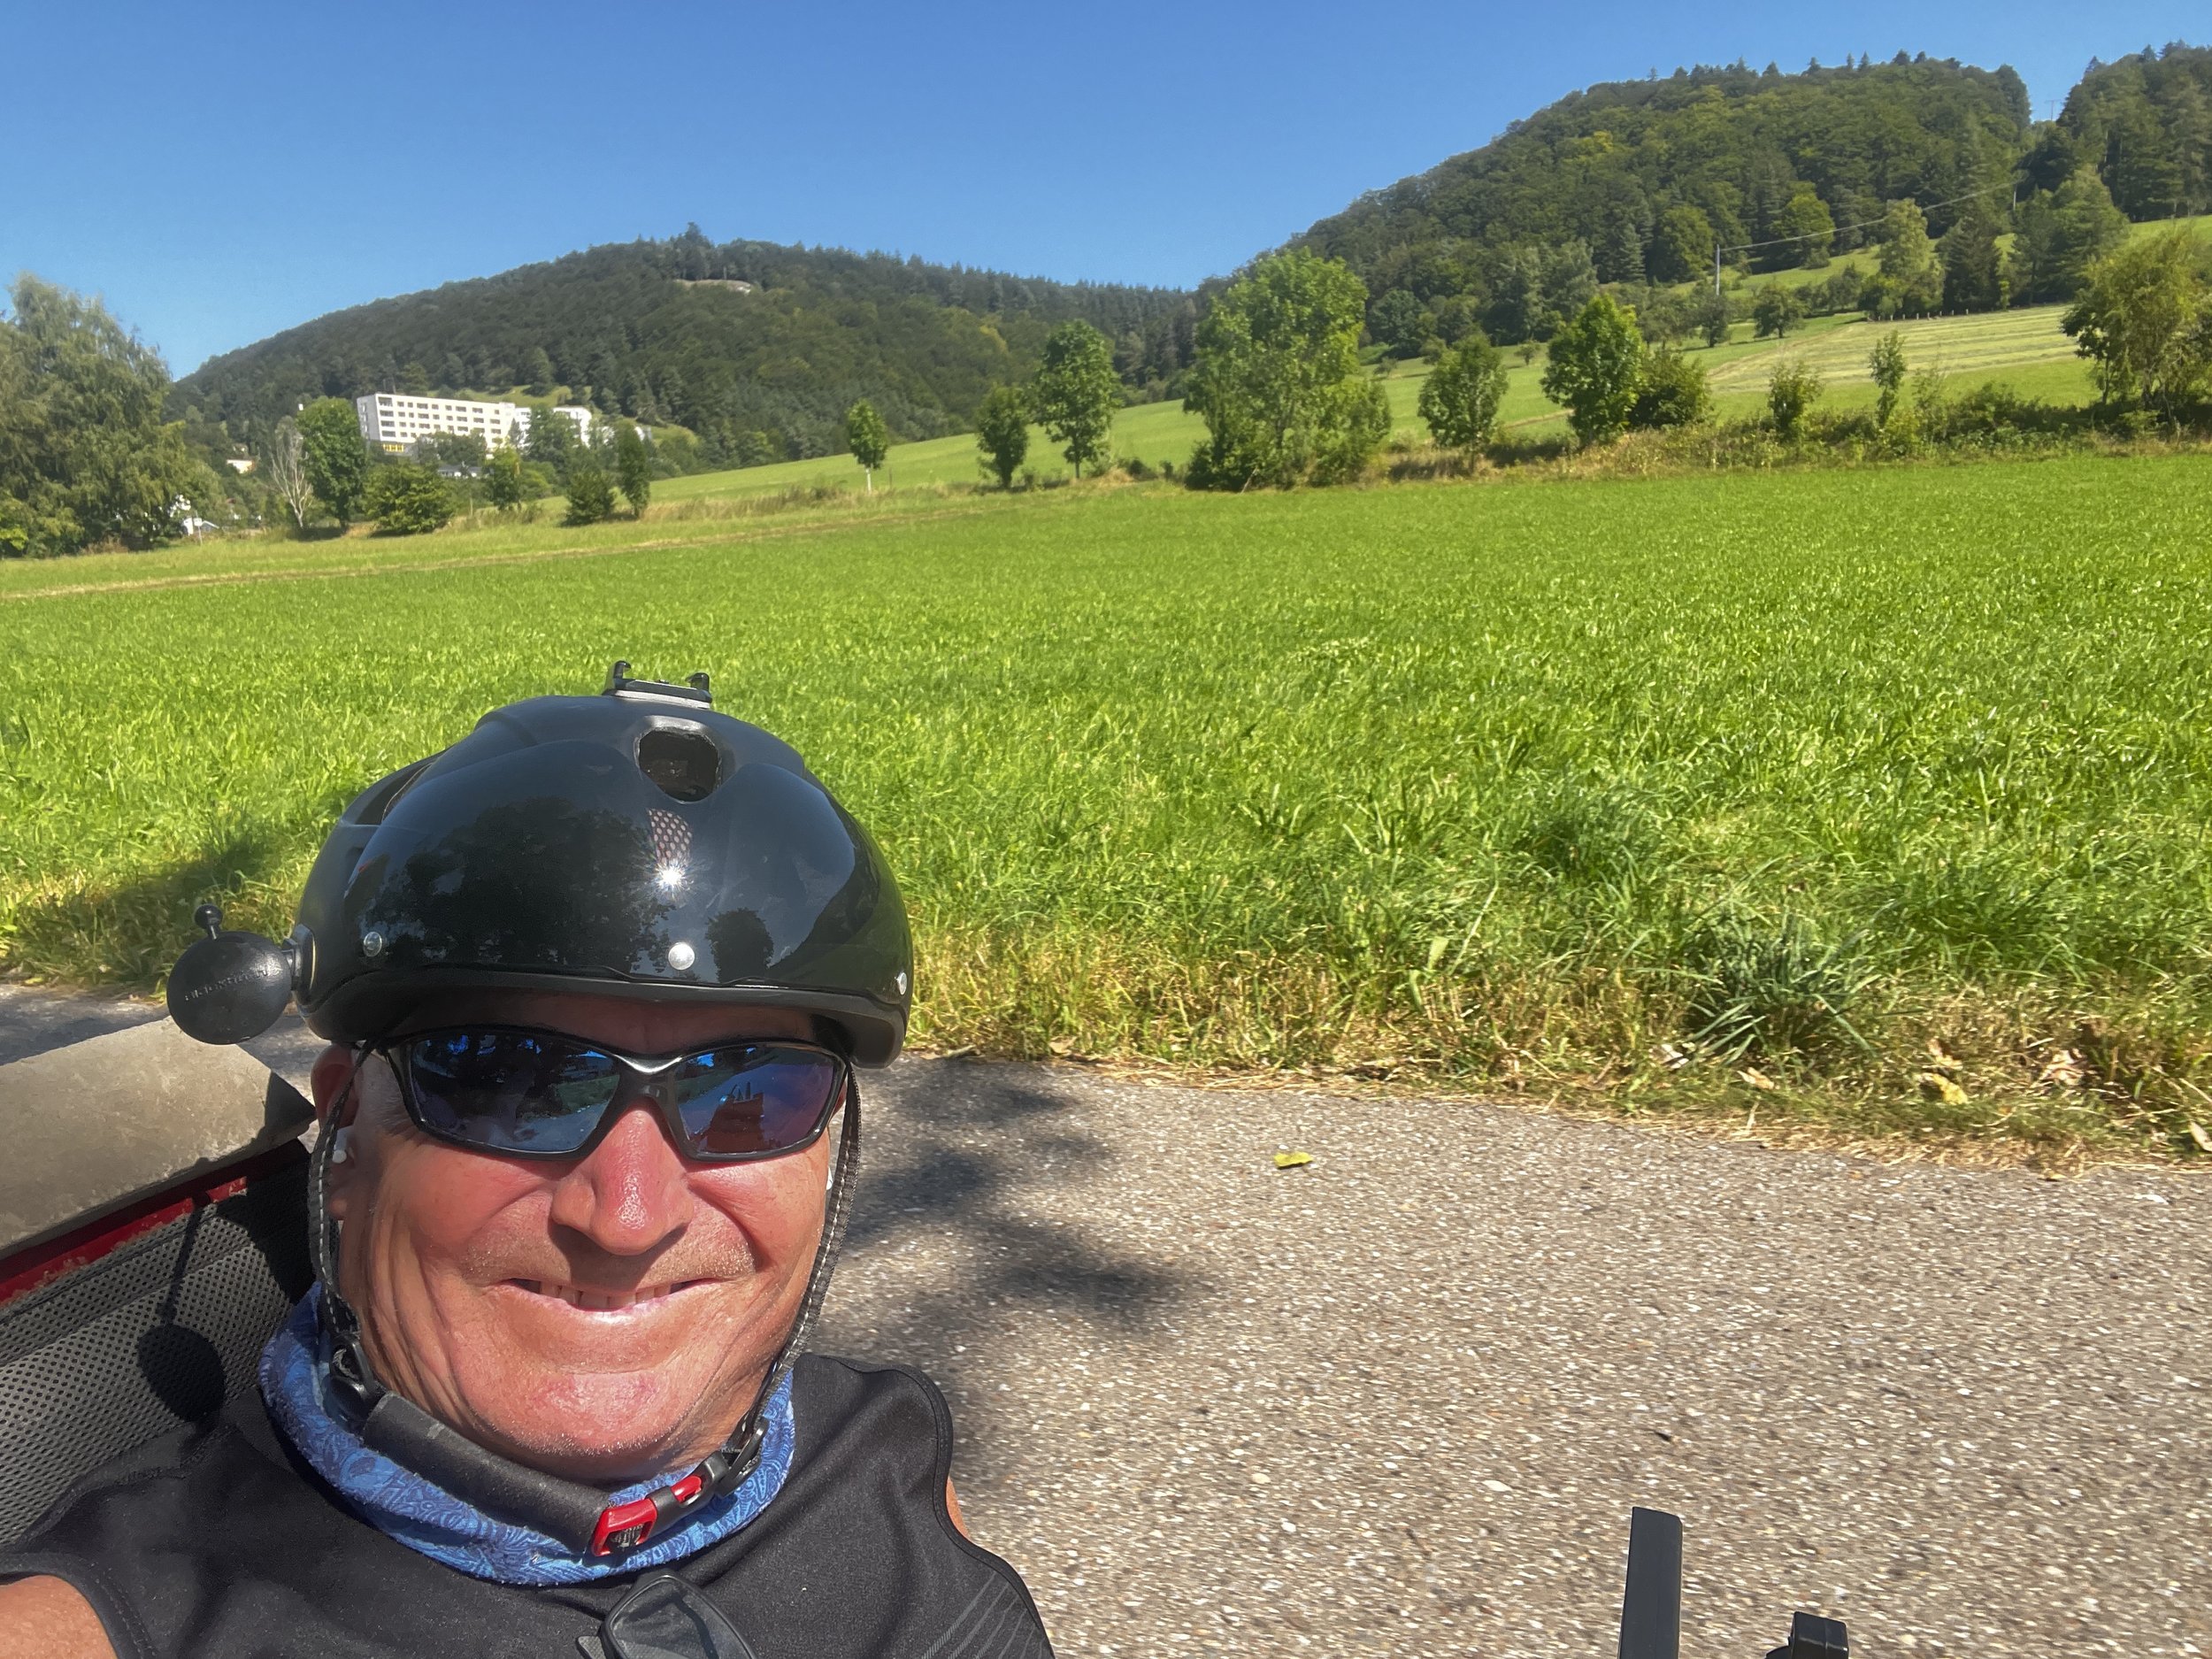
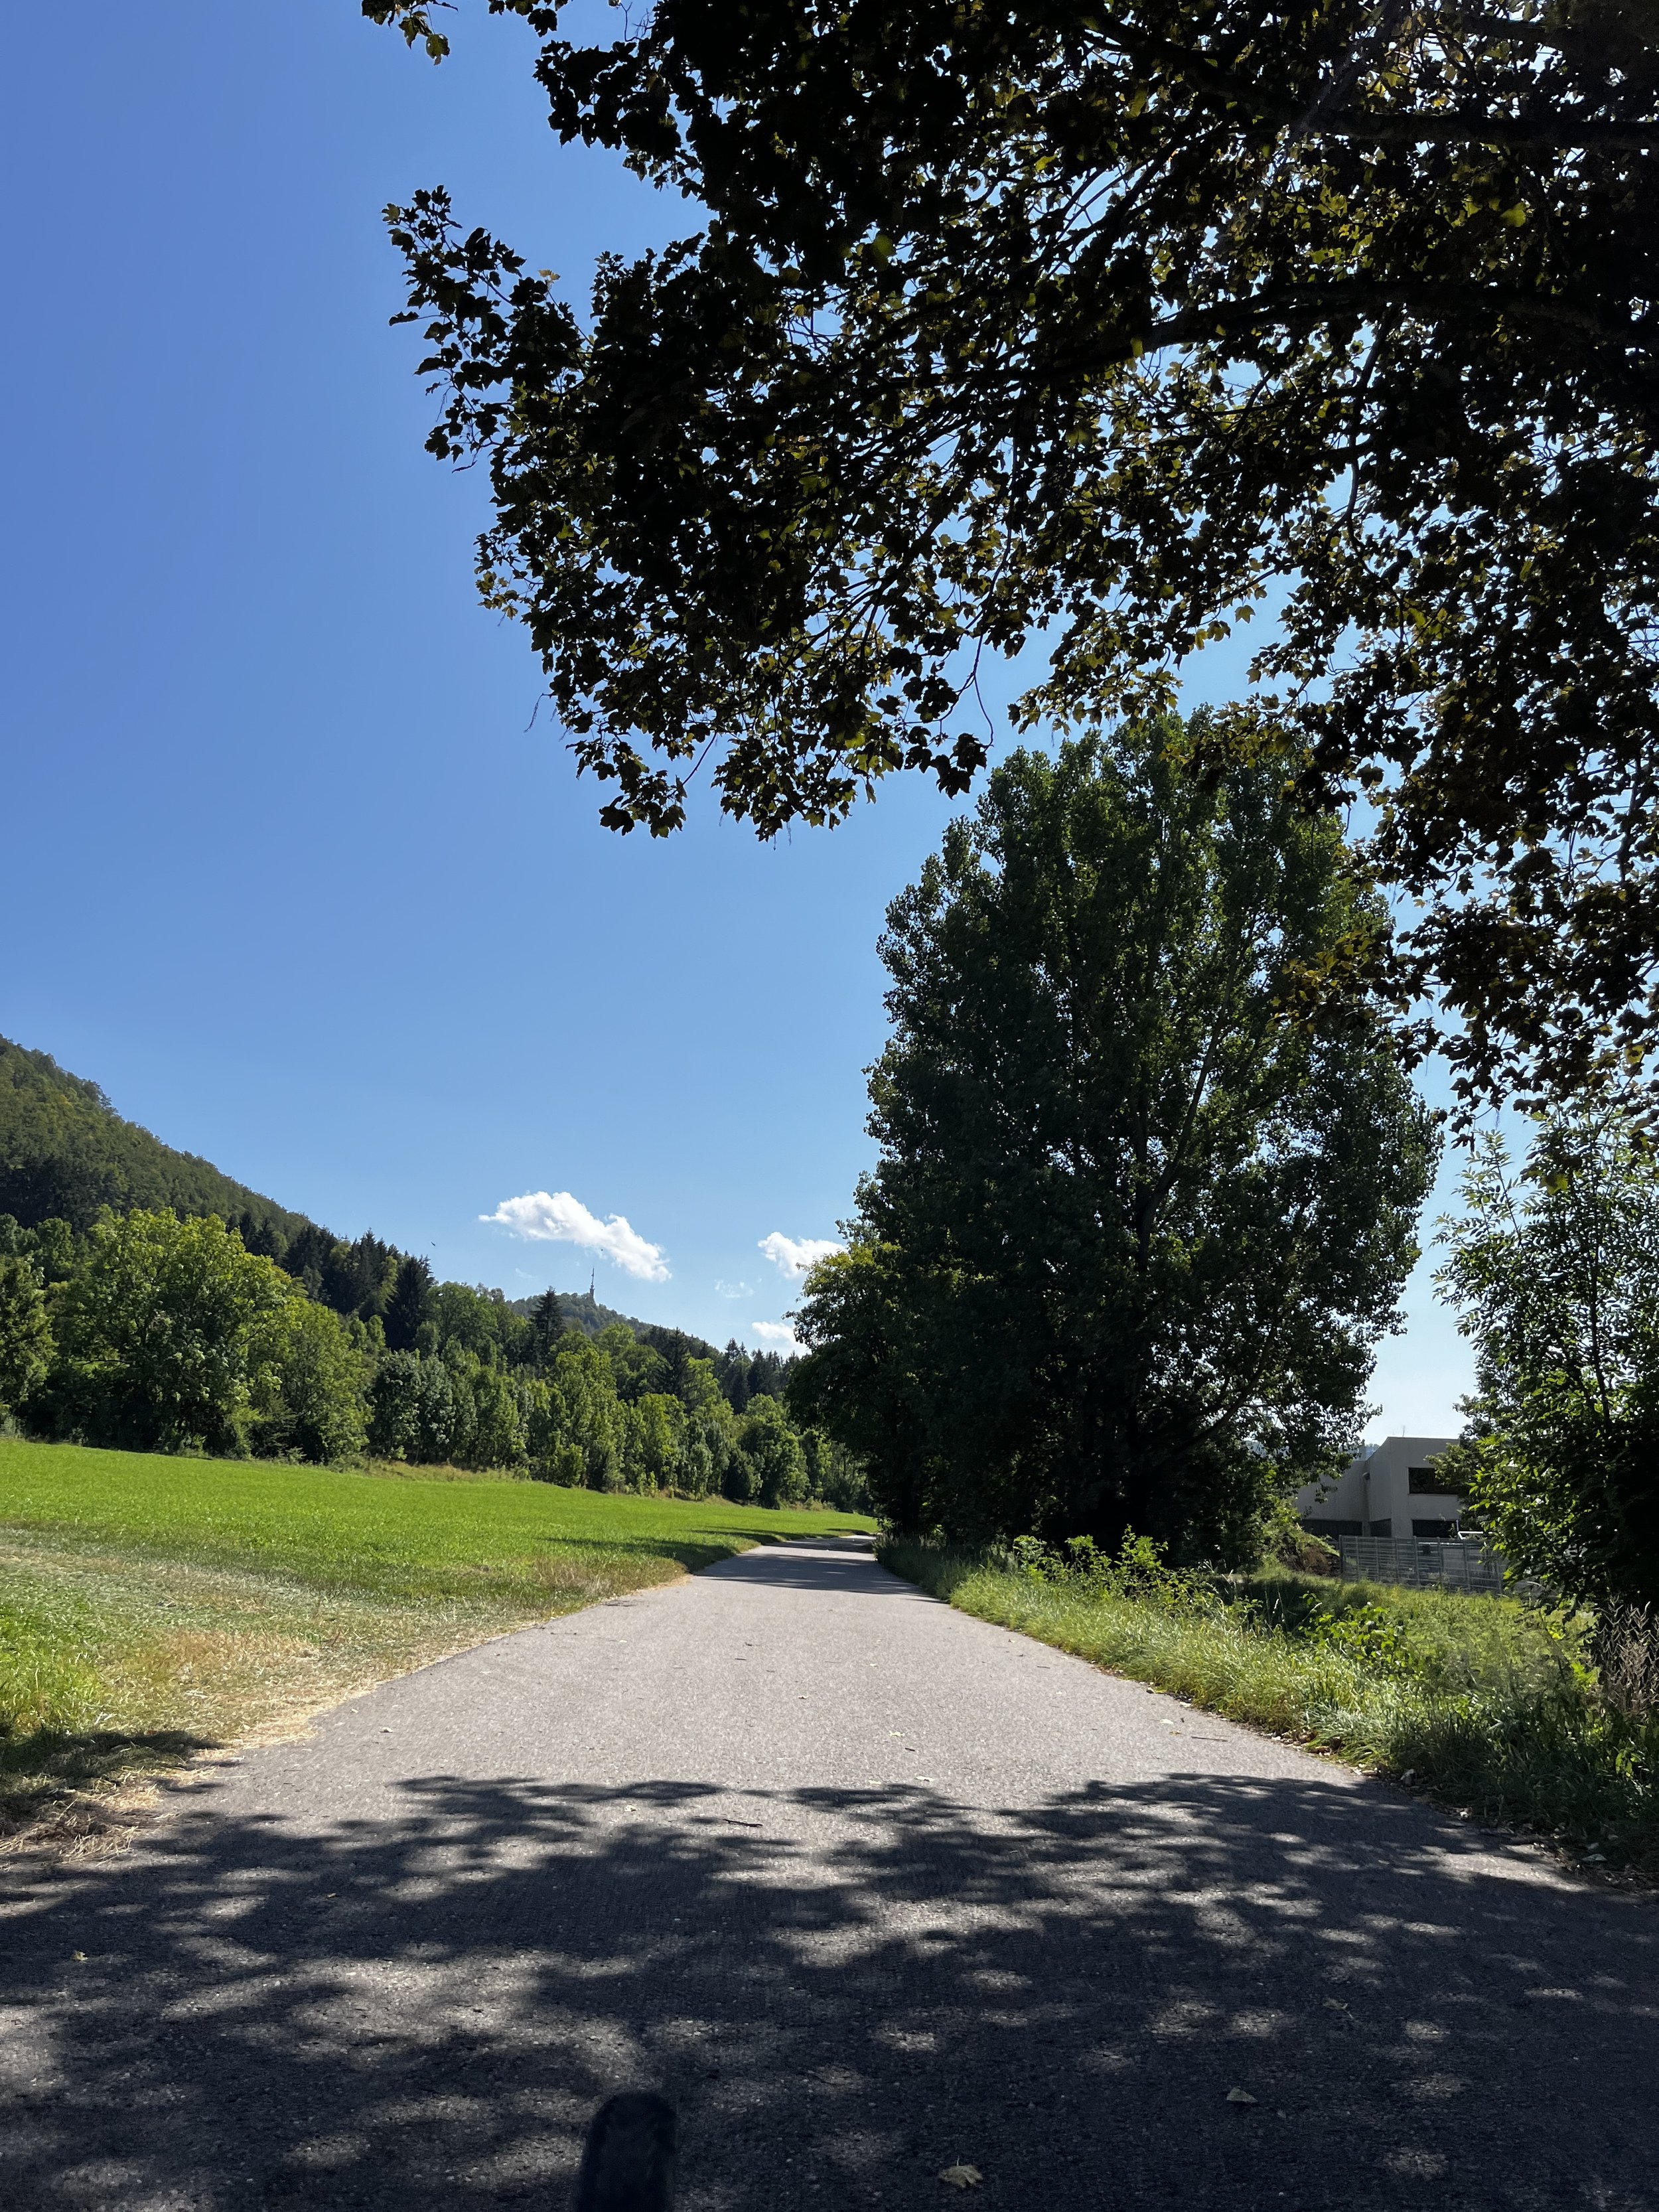
The cycling paths from Genkingen were a pleasant surprise. Well-maintained and clearly marked, they made for a smooth start to the trip. The fresh air and scenic views were the perfect backdrop as I pedaled along, the joy of a new adventure building with every turn of the wheel.
Tackling the Hills: A Test of Strength and Gear
As I ventured further from Genkingen, the landscape began to change. The gentle paths gave way to steeper hills, and I soon found myself sharing the road with cars—a true test of both my gear and my resolve, this happens because some of the cycling routes include roads. Strangely, in both directions this occured on the steepest parts of the journey meaning I was sharing a road with cars when I was at my slowest.
Luckily, in Germany I have found motorists to be very mindful and cautious around cyclists for which I am very grateful.
The e-bike’s motor was there when I needed it most, providing just enough power to help me conquer the inclines without overly exhausting myself. Of course the handcycle trailer is loaded up with around 40kg (including the wheelchair) so uphill is very slow. Also, because an e-bike is an electric motor, you actually have to ease off on the engine when it is under load or you will burn out the motor. What this translates to is just going real slow up the hills and being grateful for the e-bike assistance.
Now, given the load I was carrying—camping equipment and my wheelchair—the bike and battery performed exceptionally well. Even on the steepest sections, the power assist when slow and steady was smooth and consistent, making what could have been a grueling climb much more manageable. It was still tough work, but manageable.
Based on this trip, I estimate the fully loaded range to be around 50-75 km, depending on the terrain and hills. This is ideal, as my planned trip next year will involve legs between 30 and 60 km from campsite to campsite, so I’m confident this setup will be perfect for the journey. Also, next year, I will be adding a smaller backup battery as a contingency plan for unexpected events such as taking a wrong turn or needing to go to the next campground because of lack of accessible bathrooms etc.
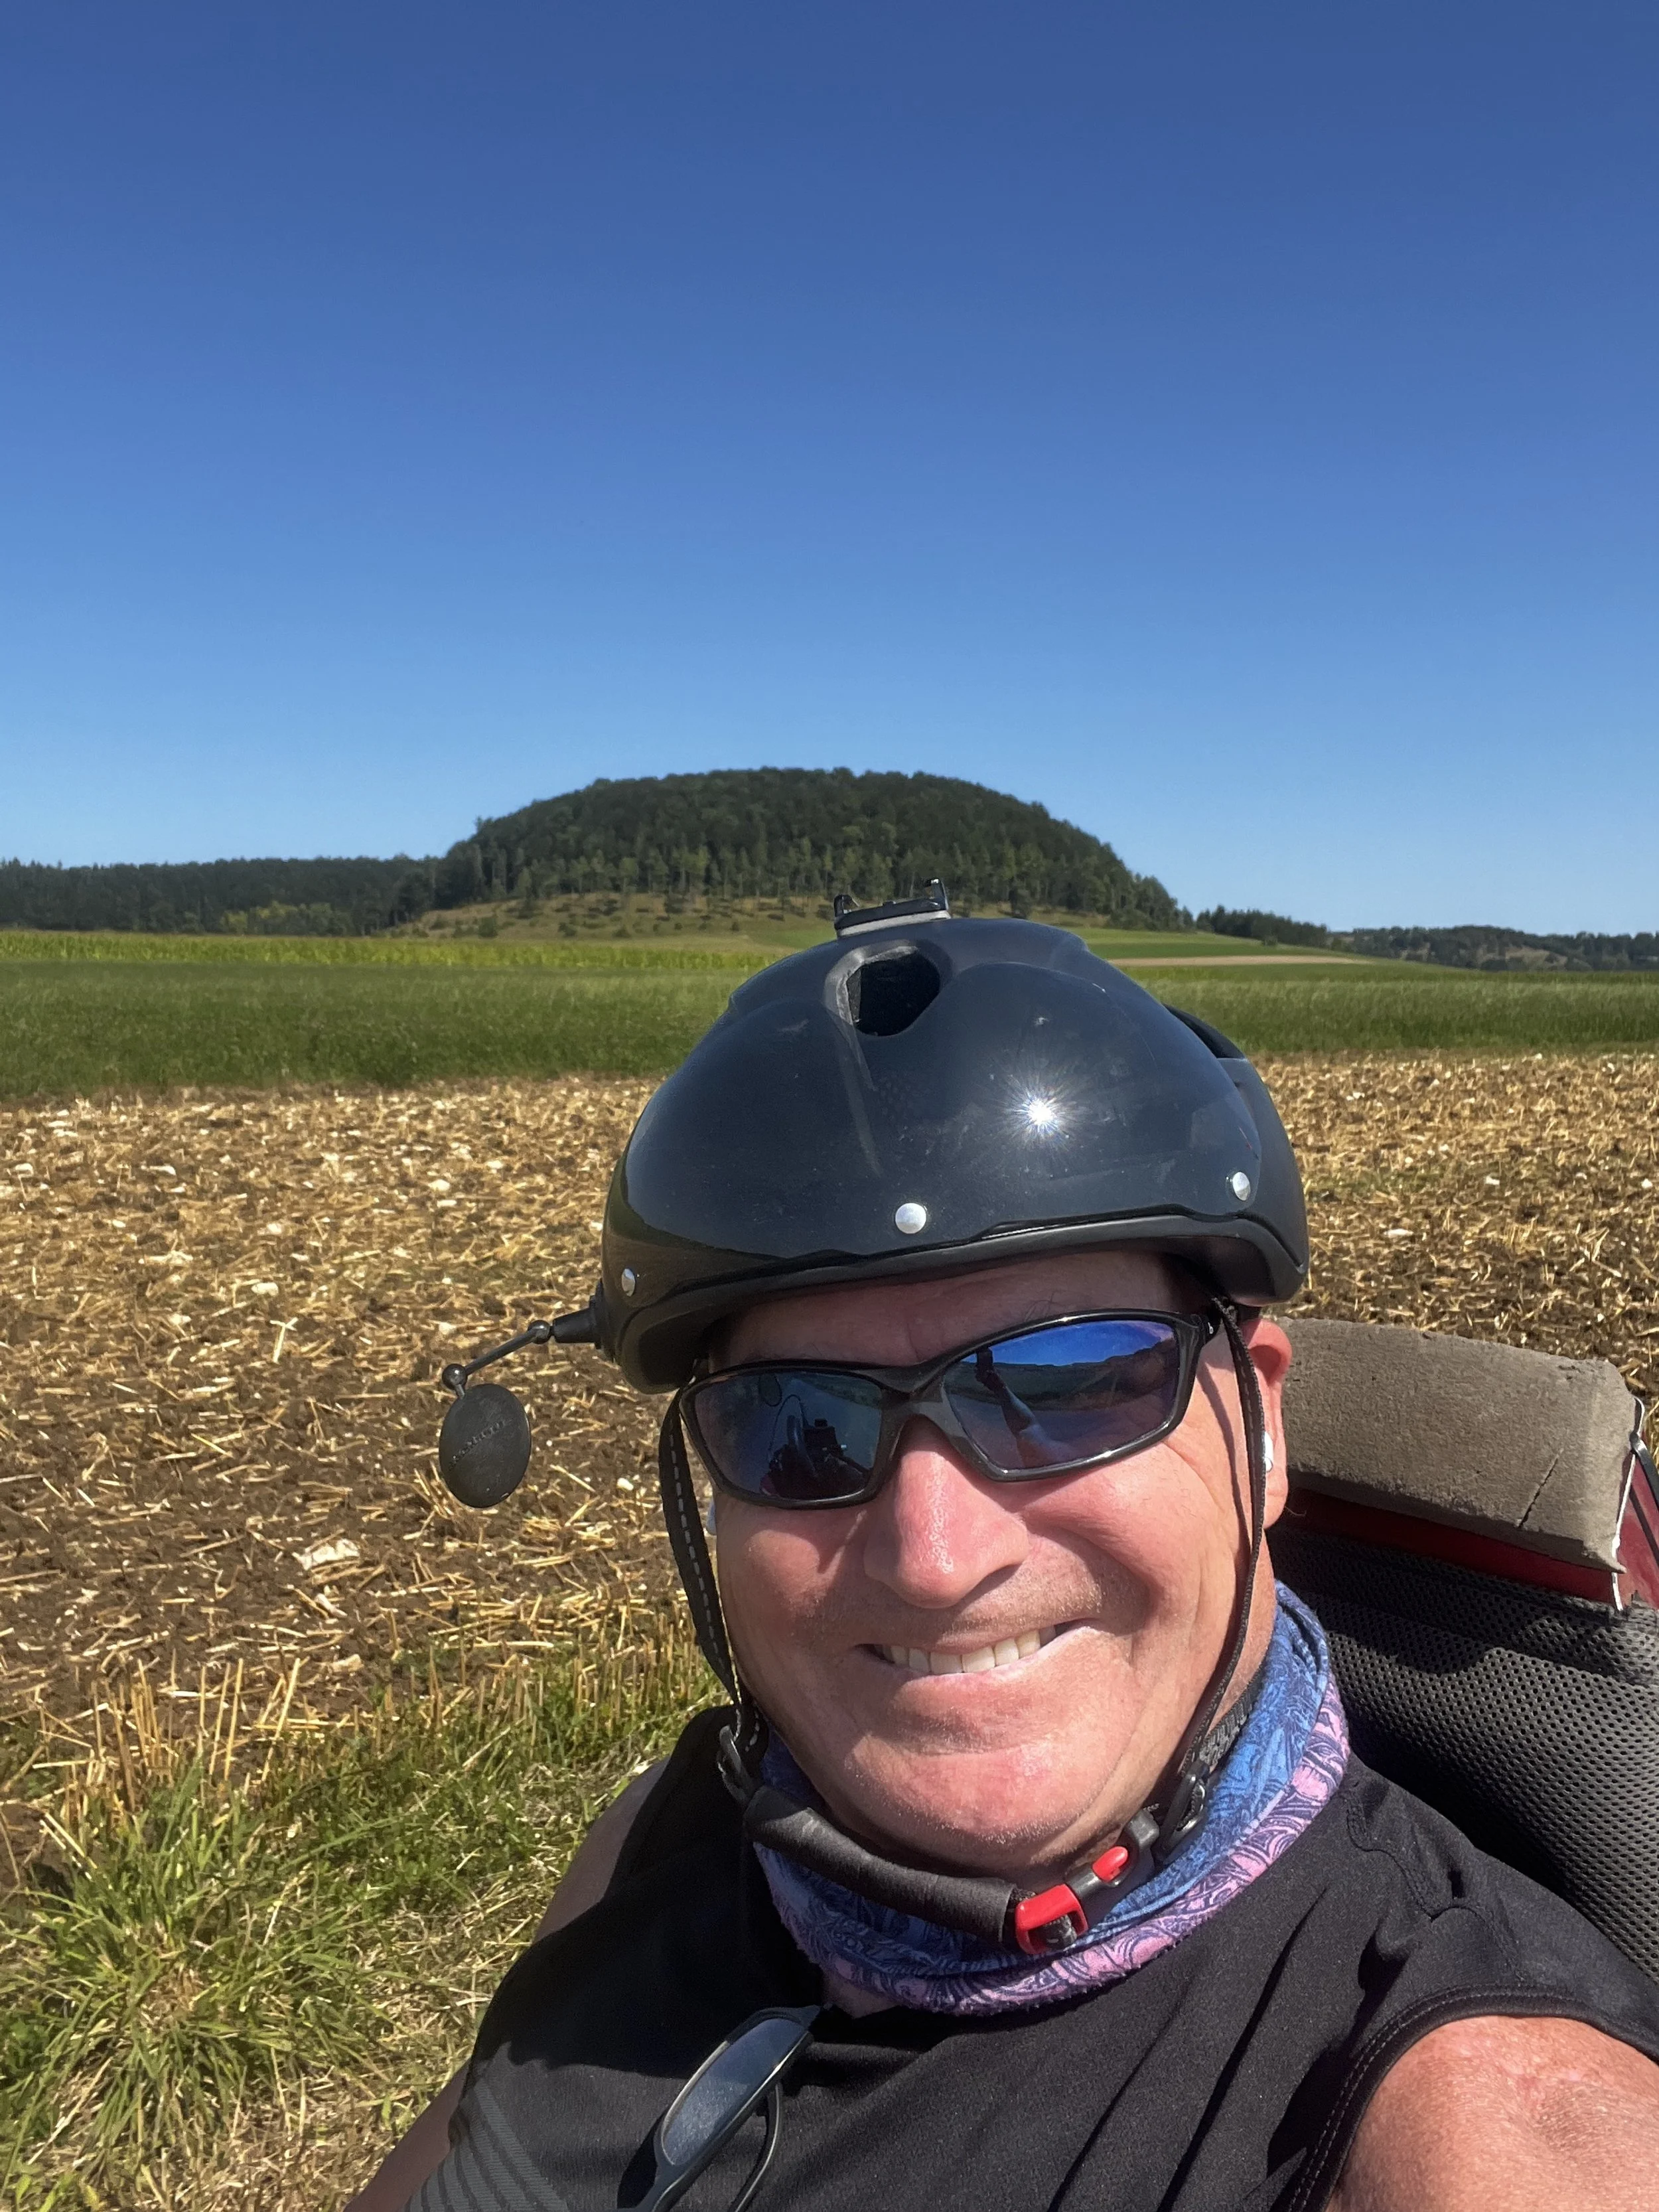
Picturesque Schwabian Countryside
Enjoying a water break in the shade
Day 1 Destination: Camping at Sonnencamping in Albstadt
After a wonderful sunny day of cycling, I arrived in Albstadt and made my way to Sonnencamping Campground. This campsite is a gem for any adventurer, offering not only a beautiful setting but also excellent facilities. The accessible bathrooms were particularly appreciated after a long day on the road, and the friendly staff made me feel right at home. It is high season and you can expect to pay around 20 Euro per night for a single adult to pitch a single tent (including power). It is typical when camping in Europe to pay for the site, the number of people, a vehicle, a dog and electricity. Luckily at this site, power was a fixed price so I could happily charge all my batteries. Here is the Sonnencamping Website Link
Note: There is a 20 Euro pfand (deposit) for the bathroom key and you need to ask for the second key for the accessible stall. Bathrooms were very clean and there was a shower seat available. The deposit must be paid in cash.
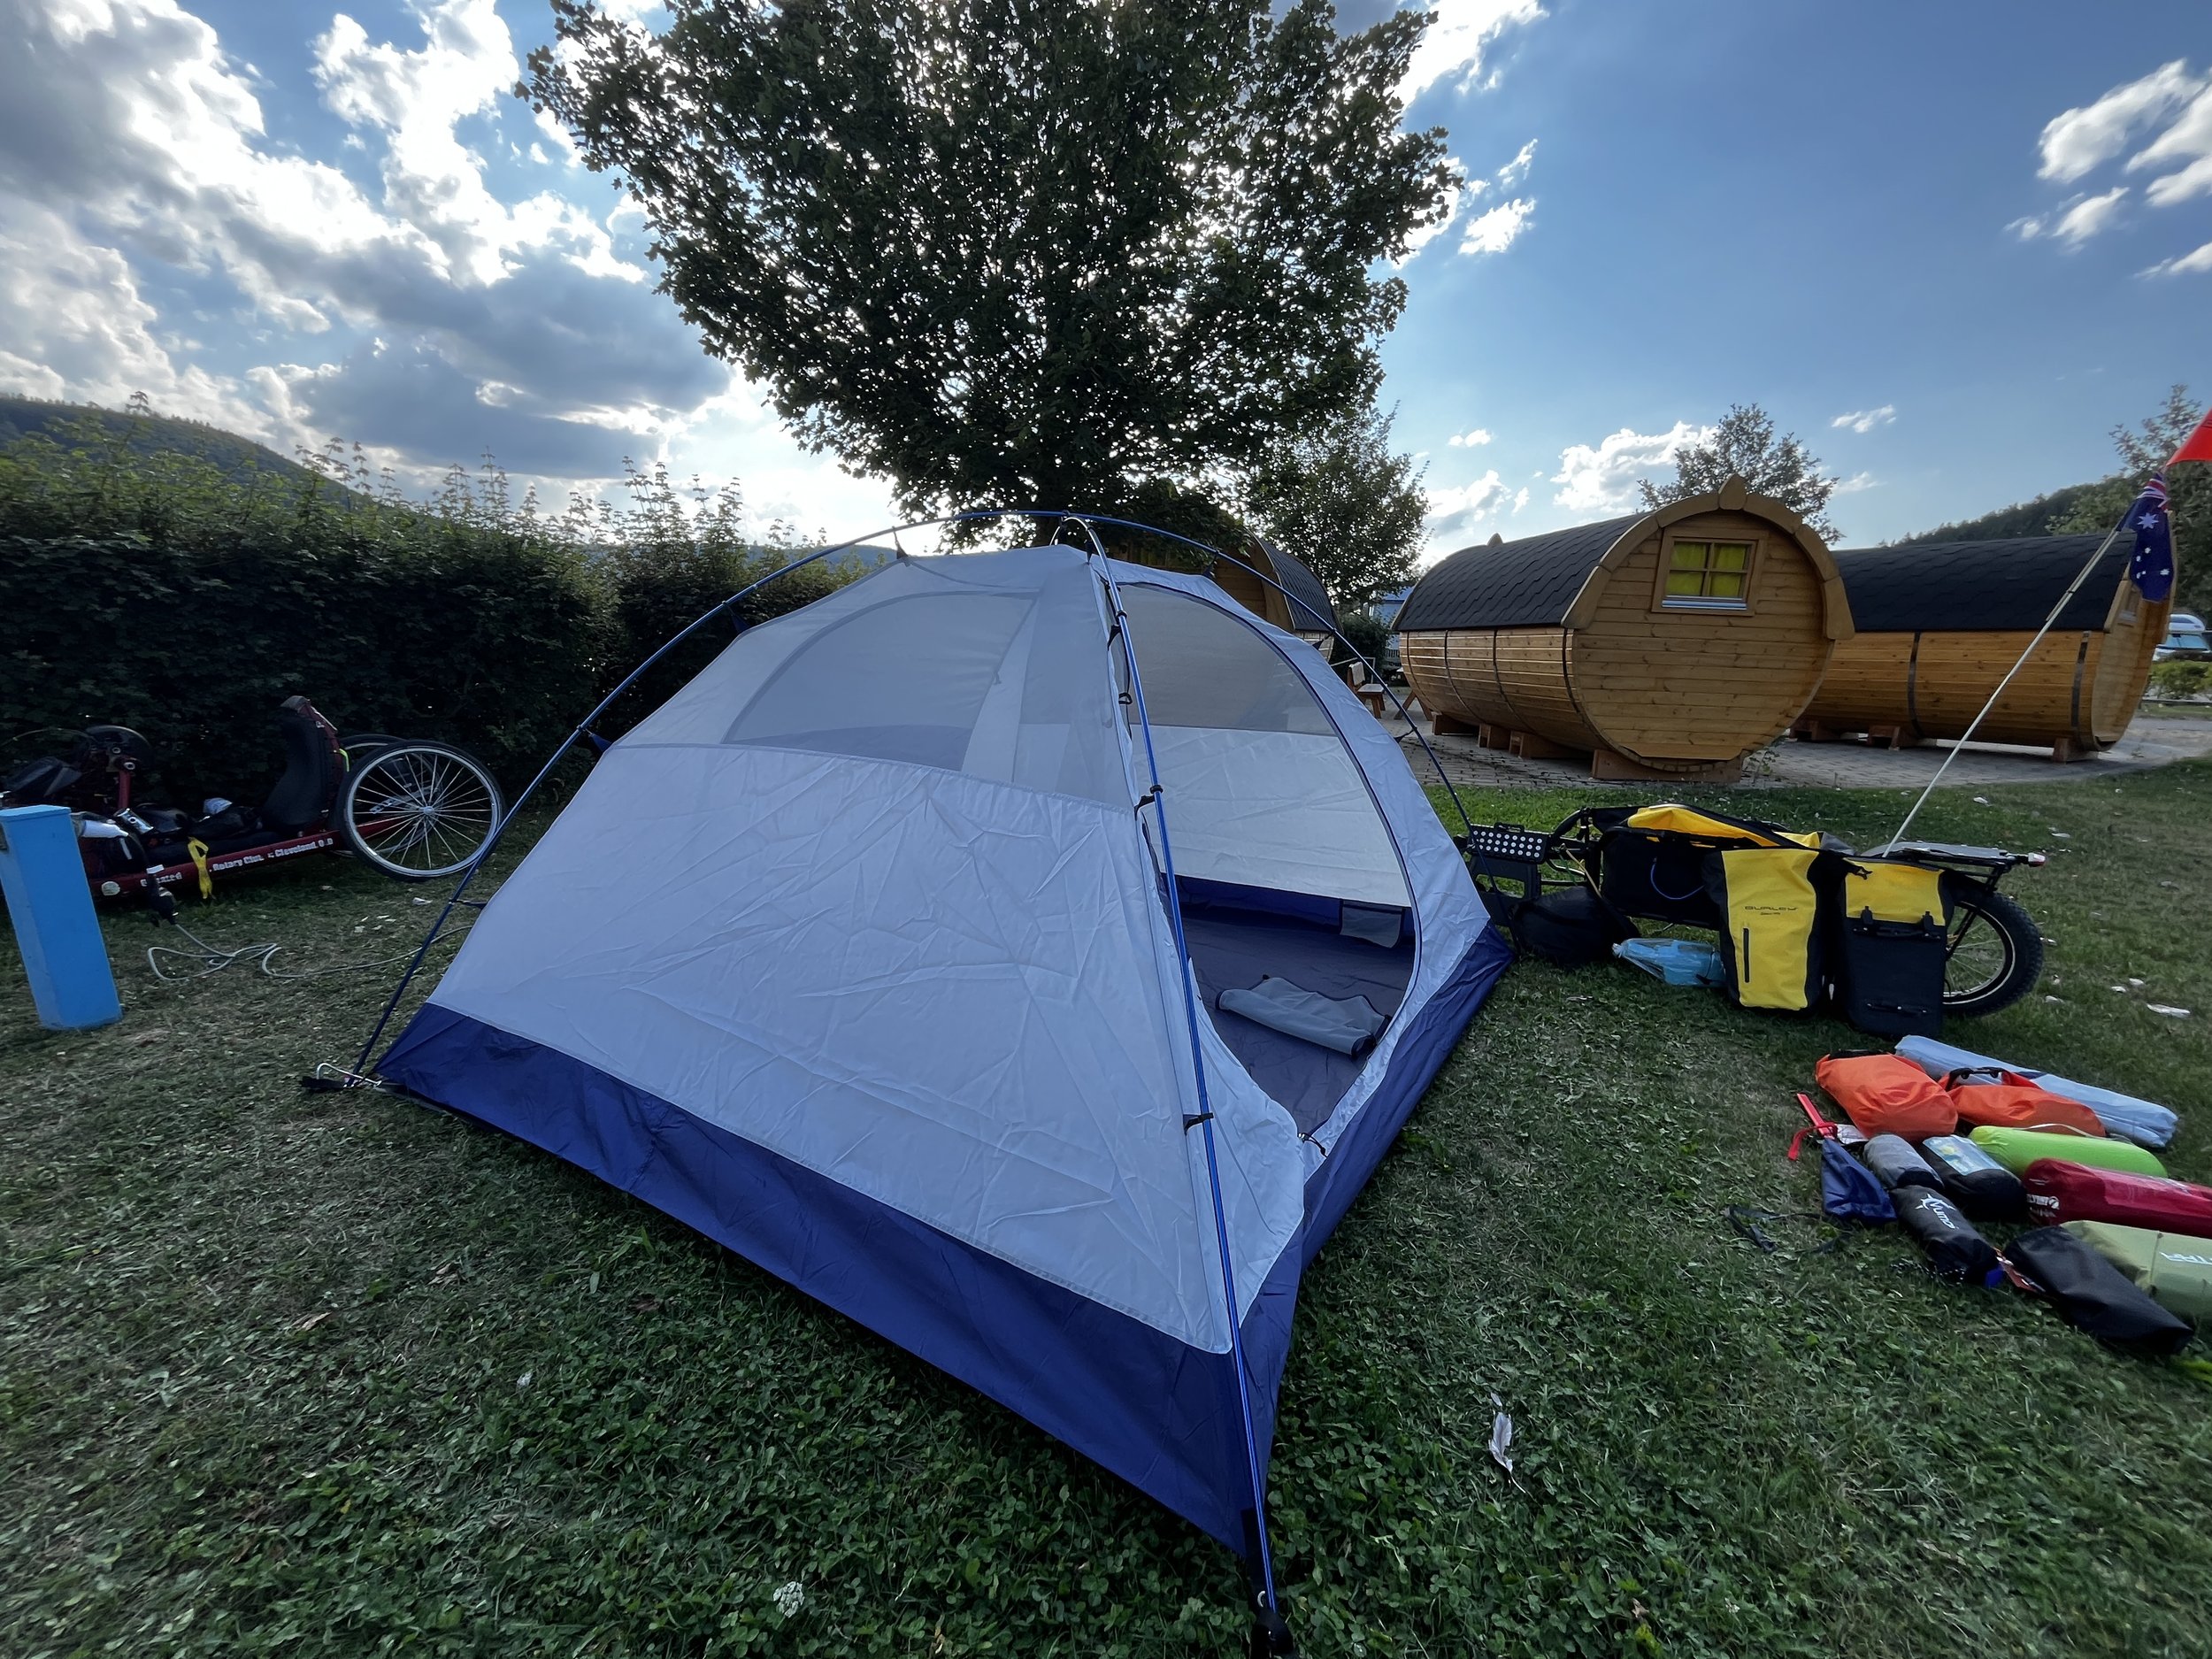
Setting up my campsite, however, was another story. As a first-timer, I quickly learned that pitching a tent and organizing gear can take a lot longer than expected! But with a bit of patience (and a lot of trial and error), I eventually had everything in place, ready to relax and recharge for the next day. It only took around 3 hours for the fist attempt. Patience is a virtue here because it is worth getting right and making a note of any extra equipment you will need. For me, the first thing I purchased when getting back to Genkingen was a lightweight rechargeable inflation device.
I recommend these two (Amazon Affiliate Links):
FLEXTAILGEAR Zero Pump - Ultralightweight
MINI ELECTRIC Air Pump - Not as light but cheaper
See my ALPS Mountaineering tent setup below:
With the Fly on. I will review the tent in a future blogpost
Day 2: Exploring Albstadt (it didn’t happen) and Learning Lessons
The second day was a chance to explore Albstadt and test my gear in a more relaxed setting. But as life would have it, I needed to deal with a maintenance issue on the bike. Because I am using a new trailer and a new battery I found that the way I mounted the towing rig was slightly insecure. Basically it attaches to the axle tube and I could not prevent it from rotating down toward the ground due to riding vibration. This meant that the trailer hitch was hanging lower and the battery was at an untenable angle.
I had to completely disassemble the rig and relocate the seat angle pole to the rear of the bike and move the battery mount into position behind the seat pole. This took half a day to achieve but on the return journey the rig did not move so we can call it a success.
When this was finally done, I went to the shops for some food and enjoyed some much-needed downtime by siimply relaxing. It was also a day of reflection, where I realized a few things I’d forgotten to pack—like a tea towel, dish detergent, CO2 gas cartriges for puncture repair, gas for my stove and a portable inflation device.
Links for equipment:
These small items didn’t pose much of a problem for a 3-day trip, but they were a good reminder that even the most prepared adventurer can forget the basics. I made a mental note to also include a washline rope, pegs, and laundry detergent in my kit for future longer journeys.
Food-wise, I was well-prepared. With an Aldi nearby and a few sausages packed for the road, sticking to my carnivore lifestyle was a breeze. Cooking my meals at the campsite was easy and satisfying, adding another layer of enjoyment to the trip. Note: The camp stove requires tokens that you must get from the store when it is open. 1 Euro gives you 20 minutes of power.
The campground also has internet if you need it. You can buy vouchers. I chose a 24 hour voucher for 3.50 Euro. On my next trip I will be getting a sim card with data and only use campground internet services to upload blogs and videos.
Barrel Cabins at Sonnencamping
The Albstadt Old Town Centre
Day 3: The Ride Back to Genkingen
On the third day, it was time to pack up and head back to Genkingen. The return journey was smoother, thanks to the lessons learned over the previous days. I felt more confident in my setup and appreciated the opportunity to refine my camping and cycling routine. There were a few big hills to climb and the elevation for the return trip decreased the battery endurance but it was good to know that I can tackle some big hills and still get 50km out of the battery.
The ride back also allowed me to fully enjoy the scenery without the first-day jitters. With the hills now familiar, I could focus more on the beauty of the landscape and the sense of accomplishment that comes with completing a challenging ride. I smiled a lot on the way home.
Final Thoughts and Tips for Future Adventures
This 3-day trip from Genkingen to Albstadt was more than just a test of my gear—it was a learning experience that reminded me of the importance of preparation, adaptability, and enjoying the journey itself.
Here are a few tips for anyone planning a similar handcycling adventure:
• Choose a Good Starting Point: Genkingen offers easy access to excellent cycling paths and is a great place to begin my journey. I have friends who live there so I was able to get my bike set up and wait for the right day and weather to go.
• Prepare for Hills and Riding Surface: The terrain between Genkingen and Albstadt includes steep hills that can be challenging. An e-bike can make these climbs more manageable. They are everywhere of course so just expect them to be a part of your trip and plan carefully. I always look up my route to see if I can make the least amount of steep climbs and the most amount of paved bikeways.
• Test Your Gear: Make sure your bike and battery are up to the task, especially if you’re carrying a heavy load. Knowing your range (50-75 km in my case) will help you plan your route more effectively. And think of contingencies like making sure you have somewhere to charge the battery at your campsite.
• Don’t Forget the Basics: Small items like a tea towel, dish detergent, and a portable inflation device can make your camping experience smoother.
• Enjoy the Local Facilities: Sonnenalb Camping in Albstadt is a fantastic base with accessible facilities and friendly staff—perfect for resting after a long day’s ride. Other services there include: Shop for drinks, food and beverages. Bakery service for breakfast. Kitchen with some appliances and a fridge. Washing facilities and a great view.
• Battery Charging Tip: European Campsites often have a propriatory power socket. Buy one of these before you start because they will be more than double the price at a campground. they are arounf 10 Euro. See pictures below:
Euro Camping Adapter (Suitable at most Campgrounds)
I add an extension and powerboard to this arrangement
Summary
Whether you’re a seasoned handcyclist or planning your first trip, this route offers a blend of challenge and beauty that’s hard to beat. If you have any questions or want to share your own experiences, drop a comment below or connect with me on my YouTube channel. I’d love to hear from you!
Until next time, keep rolling and exploring!
Andreas
Note: This post contains affiliate links. If you make a purchase through these links, I may earn a small commission at no additional cost to you. This helps support my content creation and allows me to bring you more tips and tricks for your cycling adventures.
Here are all the links from this post:
FLEXTAILGEAR Zero Pump - Ultralightweight
MINI ELECTRIC Air Pump - Not as light but cheaper
ALPS Mountaineering tent
